Here's a recap of a quick tutorial I posted on the Be Yourself Creations blog today on how to make collaged chipboard stars.
Collaged Chipboard Technique:
I don't know about you, but I always cringe when I'm faced with "naked" chipboard! I have mists and paints and such in my stash, but I'm addicted to patterned paper so I always prefer to use it as often as possible. Here's what I did to make the stars...
Gather your supplies:
"naked" Chipboard
patterned paper scraps (little bits and pieces are fine to use)
liquid adhesive (one that dries clear is crucial)
craft knife & self-healing mat
Sanding tool
ink for edges
Cover the chipboard completely with liquid glue
Begin adding scraps of paper to chipboard. Do not over think this - just grab a scrap and stick it down. It doesn't matter if it overlaps other pieces - just stick it down!
contine covering...
When you're finished your chipboard should be unrecognizable! Let it dry completely.
Spread a small amount of liquid glue over the entire piece. Make sure you're using glue that dries clear! Let the entire piece dry completely before going to the next step
Turn the chipboard over and using your craft knife, cut the excess paper away
Your chipboard should look like this now:
Now you can begin sanding the edges. I always make sure the edges are flush to the chipboard.
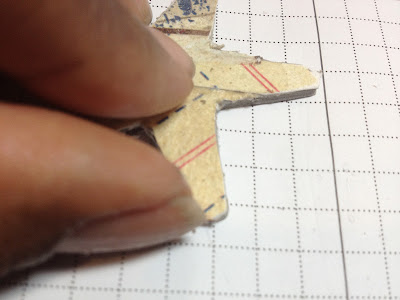
Check to make sure that the edges are not "lifting"..if they are, even a little bit, use a tiny amount of glue to keep them down
When the top coat of glue is dry and you are sure the edges are down completely, begin inking around the corners.
Ta-da! You're all done! Your star should look something like this now...isn't it cute?
And here it is on the project. I added a smaller star from the same package on top of this one on my final cover
I hope this helps! Enjoy your weekend.


No comments:
Post a Comment